Information
Some entities require having bones, so game effects or events can be connected to them. By adding bones to the blender object and exporting it, the EXOR mesh exporter will automatically create *.skeleton files.
Add bones to your mesh
Create the armature
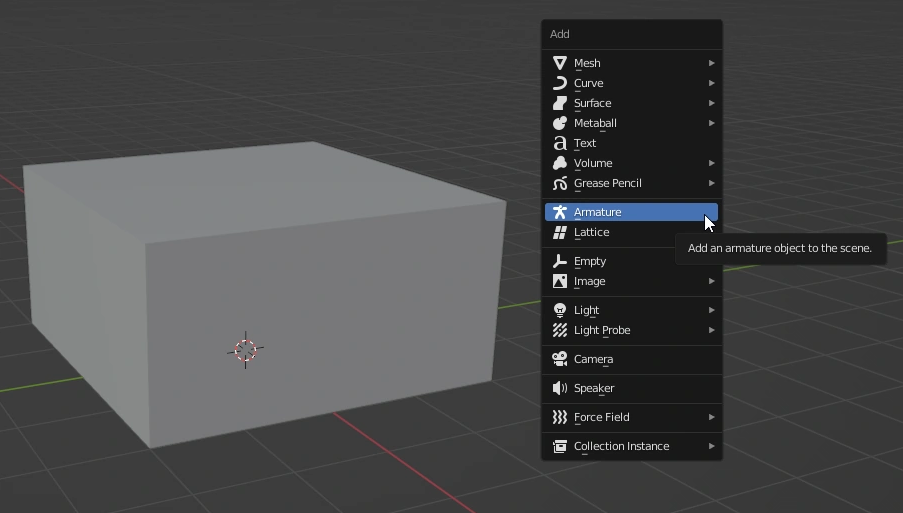
To add a bone to a mesh, you first need to add an armature to the project. To do this, select it from the add menu.
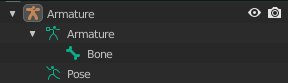
Afterwards you will find it in the scene collection on the right

The armature itself consists of everything needed for a bone: The bone itself and a potential pose
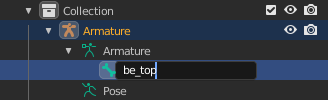
Rename the bone
As the name of the bone will be the object we will use for the game, give it a fitting name.
Depending on what kind of entity this mesh will become, EXOR tends to use a name which represents a part of the model. Like: drill_holder, drill, screw, energy_rod, etc.
To rename the bone, select it and press F2.
Bone placement
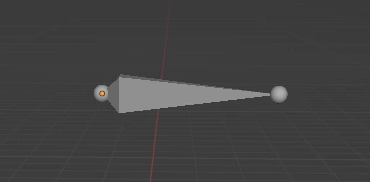
Once the bone has been created, find the spot where you want to place it.
It’s important to note, that the spot of the bone is not the whole bone, but the ball at the bigger side of the bone - the ball with the orange dot in it when you select the bone.
Connect the bone to the mesh
To connect the bone to the mesh, you need to make it a parent.
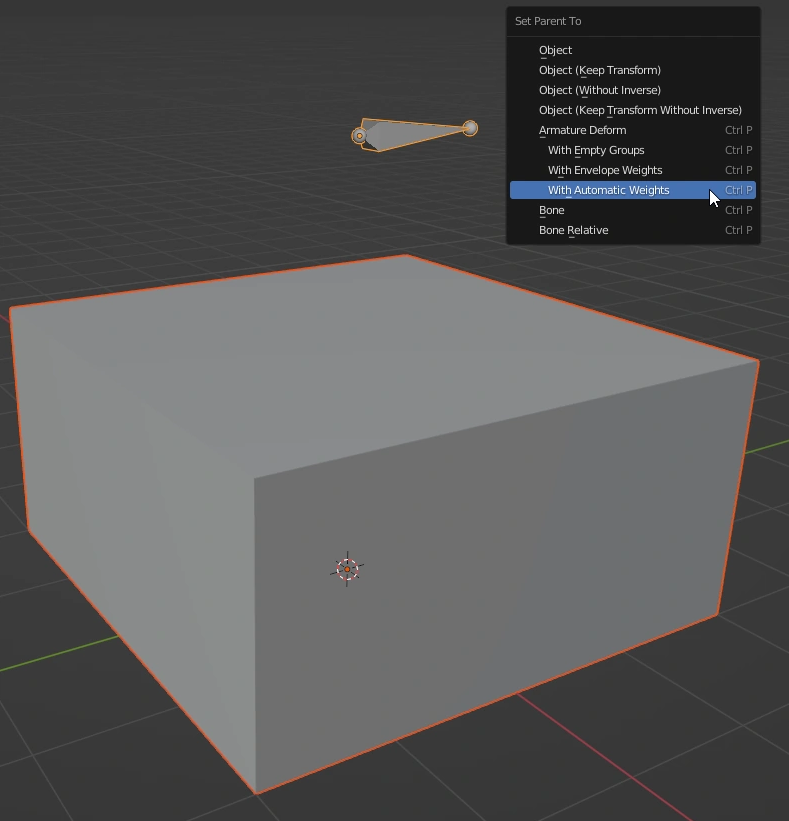
To do so, switch to object mode and select the mesh you want to connect with the bone, then select the bone. Once you have both selected, press CTRL + P and select Armature Deform > With Automatic Weights.
If you have trouble clicking the bone, select it from the collection.
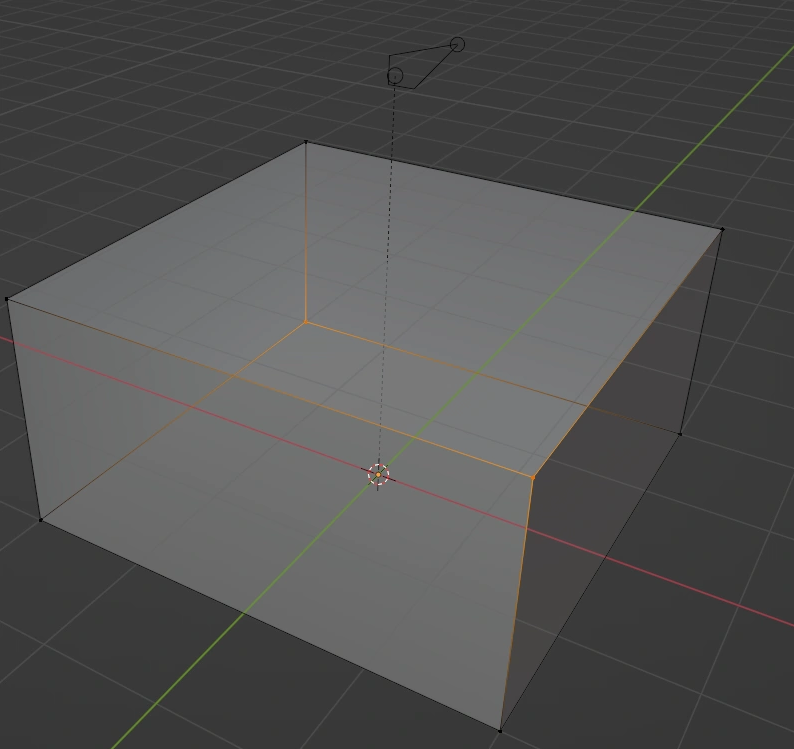
A line will show the new connection between the objects

Check for connected vertices
Enable X-Ray
In order for the export out of Blender and import into the game to work, you need to have vertices successfully connected to the bone.
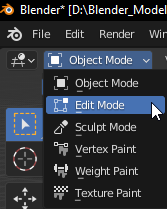
To check this, switch to the edit mode (Press TAB or click top left)
and enable the X-ray mode by clicking the corresponding button top right.

Now you can see and select all vertices on your mesh, not just those in front of you.
Select vertices
Now that you can see everything, we have to check if everything is successfully connected.
Open your mesh in the scene collection and switch to the “Vertex Groups” here we can see if the bone itself is connected. It should show a group with the same name as the bone.

To check for the correct vertices, you select your mesh, switch to the “Object Data Properties” and open the “Vertex Groups” tab.
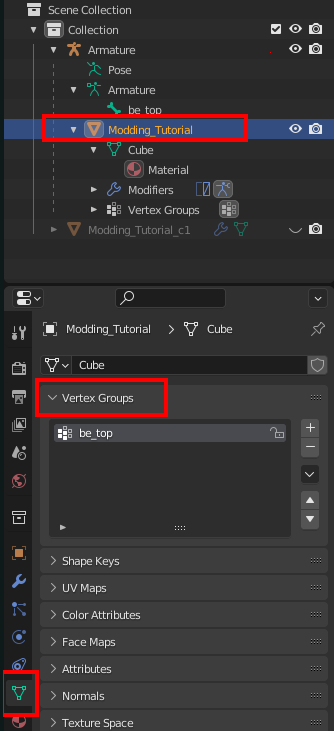
Inside the vertex groups, you should see your vertex group, named after your bone.
Now click on that vertex group and on the button “select”. It highlights all vertices which belong to this bone.
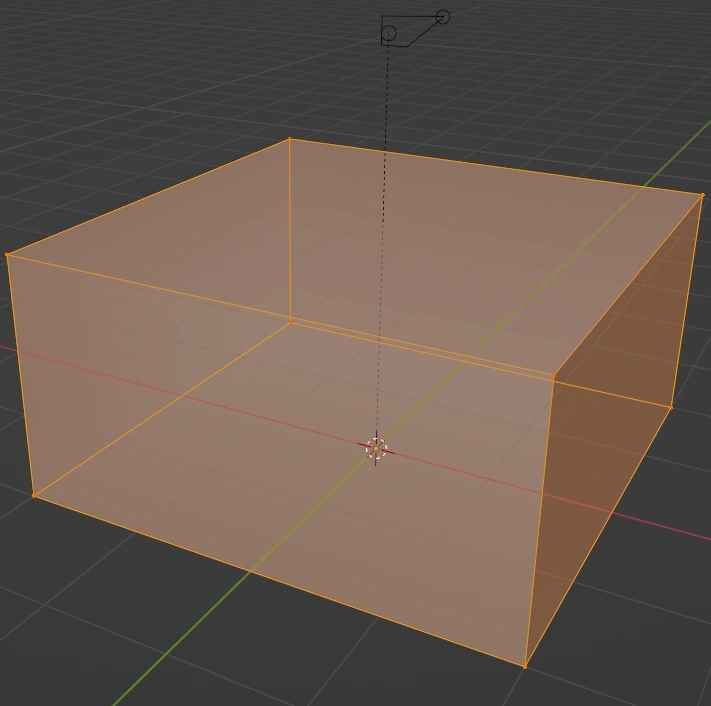
If everything looks ok, like in the picture above, leave it as it is.
If some vertices are missing or are too many connected for some reason, select your vertex group and click either “Assign” or “Remove”.
Common errors
- Not all vertices connected to the bone
- Used wrong bone location